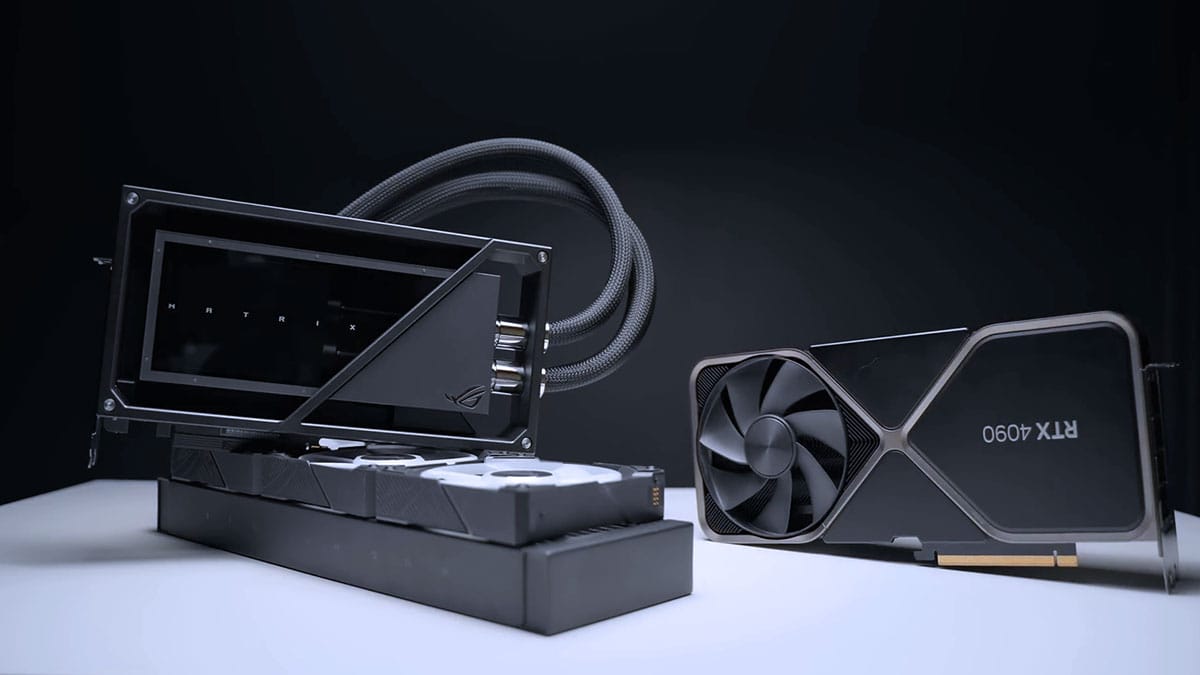
The graphics card is the most expensive part of your computer. If you are worried about toasting your GPU, you are not alone.
When I was new to PC gaming I burned my GPU due to high temperature. At that time, I did not know what a GPU’s normal temperature should have been. This begs the question: what is the normal operating temperature of a graphics card?
The normal GPU temperature while gaming is between 60°C and 85°C (140°F and 185°F). The normal GPU temperature while gaming varies depending on factors such as the GPU’s specific model, the game’s intensity, and the computer’s cooling system.
Due to the different factors involved in determining normal GPU temperature, I am afraid things are not as simple as they seem. So, in this article, I will dive into the details of what the normal temperature of your GPU should be, how you can verify if your GPU temperature is normal, and how to optimize your GPU’s temperature.
Where applicable, I will provide you with a complete step-by-step guide so you can follow along. There is a lot to cover, so without further ado, let’s jump right into it without further ado.
Key Terms and Concepts You Need to Know
The following are some key terms and concepts throughout the article. Therefore, a basic understanding of these concepts and terms is very important to grasp the information mentioned in the article.
GPU Utilization
GPU utilization refers to the percentage of a graphics processing unit’s (GPU) processing capacity that is currently being used. High GPU utilization can indicate that the GPU is being effectively utilized for demanding tasks such as gaming. In contrast, low GPU utilization may suggest that the GPU is underutilized and has spare processing capacity.
GPU utilization is the key metric for measuring any tangible metric of the GPU, such as performance or temperature. The GPU utilization is based on two key characteristics: GPU core clock utilization and GPU VRAM utilization. Don’t worry if you are unaware of these two terms because coming up next is their explanation.
GPU Core Clock
The GPU core clock is the speed at which the graphics processing unit (GPU) operates. It is measured in megahertz (MHz). A higher core clock speed generally means better performance and faster rendering of graphics and images.
For instance, the max frequency of Nvidia RTX 4090 is 2520 MHz. On the contrary, the maximum boost frequency of the Nvidia RTX 4060 is 2460 MHz.
GPU VRAM
Video Random Access Memory (VRAM) is the type of memory used to store the image data and pixels that the GPU needs to process in order to display graphics on the screen.
It is a key component of a graphics card, allowing the GPU to access the data it needs to render images quickly and efficiently. The amount of VRAM on a graphics card can greatly impact its performance, as more VRAM allows for the storage of larger and more detailed textures and models.
What Is the Normal GPU Temps While Gaming?
The safe operating temperature of a graphic card ranges between 60°C and 85°C (140°F and 185°F). The maximum temperature threshold that a graphics card should not cross is 95°C (203°F). If the temperature exceeds 95°C (203°F), the GPU can get damaged.
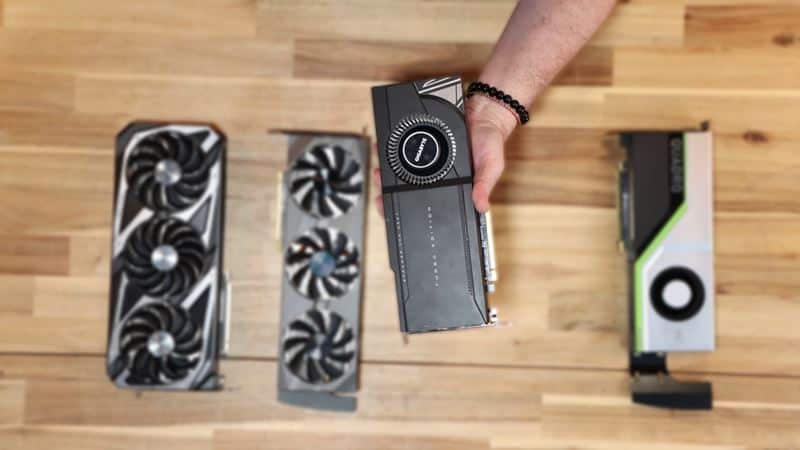
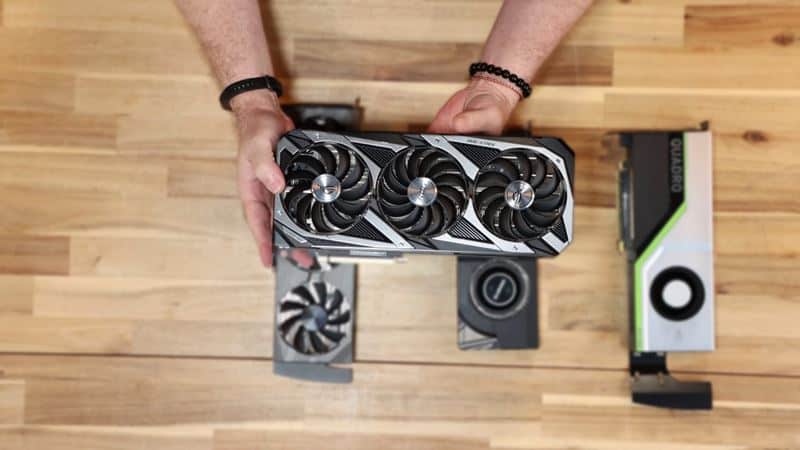
These are the generally acceptable temperature ranges, which are agreed upon by both Nvidia and AMD. However, not all graphic cards in the AMD and Nvidia lineup operate at the same temperature.
The normal temperature of each GPU is different and depends on the model of the GPU, its power requirement, etc.
Higher-end GPUs like the Nvidia RTX 4090 or the AMD Radeon RX 7950 XT operate at higher temperatures, while mid-range and low-end GPUs like the Nvidia RTX 4050 or the AMD Radeon RX 7700 XT operate at lower temperatures.
For example, the average operating of the Nvidia RTX 4090 is 80-85°C (176-185°F) while gaming. On the contrary, the average operating temperature of the Nvidia RTX 4050 while gaming is 65-70°C (149-158°F) in an optimal environment.
Based on the average temperature of these two GPUs, you can make an estimate of the normal operating temperature of your GPU. For instance, if you have an Nvidia RTX 4070. Since this graphics card comes between Nvidia RTX 4090 and Nvidia RTX 4050, you can estimate that it will have a normal operating temperature of 75-80°C (167-176°F).
Now that you know what the normal operating temperature of a GPU should be, let’s see how you can find out and monitor your GPU’s temperature while gaming.
How to Monitor GPU Temperature?
In order to know if our graphics card is operating at normal temperature, we need to monitor it while gaming. Monitoring GPU temperature during gaming is essential because GPU utilization varies and does not remain the same during a game. Since the GPU utilization varies, the temperature also fluctuates.
In order to correctly measure the temperature of the GPU, we need software that can keep track of the real-time GPU temperature during the duration of the game and provide an average when a gaming session ends.
Many software programs can do this job. However, I personally use MSI Afterburner, which is a free and credible software for monitoring GPU temperature. Here’s how you can set real-time temperature tracking using MSI afterburner.
- Download and install MSI Afterburner from the official website.
- Launch MSI Afterburner.
- Click on the settings button, which looks like a wheel.
- In the settings menu, go to the “Monitoring” tab.
- In the Monitoring tab, locate the GPU temperature option and check the box next to it to enable real-time monitoring.
- Once you have configured the settings, click on the “OK” button to save the changes.
- Now press on the monitoring icon, which is below the settings icon.
- Under the monitoring icon menu, you can now see the real-time GPU temperature in the MSI Afterburner interface as well as in any on-screen display if you have it enabled.
If your GPU temperature is not in line with the normal operating temperature, it might be due to some internal and external factors. These factors can have a great impact on the operating temperature of the GPU.
Factors That Influence the Temperature of a GPU
The following are the factors that influence the temperature of a GPU.
Cooling Design of the GPU
The cooling system typically consists of a combination of fans, heat sinks, and sometimes liquid cooling systems. When the GPU is in use, it generates heat, which needs to be dissipated to prevent the GPU from overheating.
A well-designed and efficient cooling system will effectively dissipate the heat generated by the GPU, keeping its temperature within safe operating limits. On the other hand, an inadequate or malfunctioning cooling system can lead to higher GPU temperatures.
Blower Style GPU Cooler
A blower-style cooler in a GPU is a type of cooler that consists of a single fan attached to a heatsink. The fan draws in cool air from the outside, which is then blown directly onto the heatsink and the GPU to dissipate heat. The heated air is then exhausted out of the back of the graphics card.
Blower-style coolers are compact and cheap to manufacture, making them suitable for compact and small form factor PC builds. However, they are often noisier and less effective at cooling compared to other types of coolers, such as open-air coolers.
Open Air GPU Cooler
Open-air coolers for GPUs feature an airflow-friendly design, allowing maximum ventilation and heat dissipation, which helps keep the GPU running at optimal temperatures, even during intense gaming or other graphics-intensive tasks.
Open-air coolers typically consist of a heatsink with multiple heat pipes and a set of large, high-performance fans. The heatsink is designed to make direct contact with the GPU, drawing away heat and transferring it to the heat pipes. The fans then work to quickly dissipate this heat by pushing air through the heatsink and out of the system.
One of the key benefits of open-air coolers for GPUs is their ability to effectively cool the GPU without producing excessive noise.
Liquid/AIO GPU Cooler
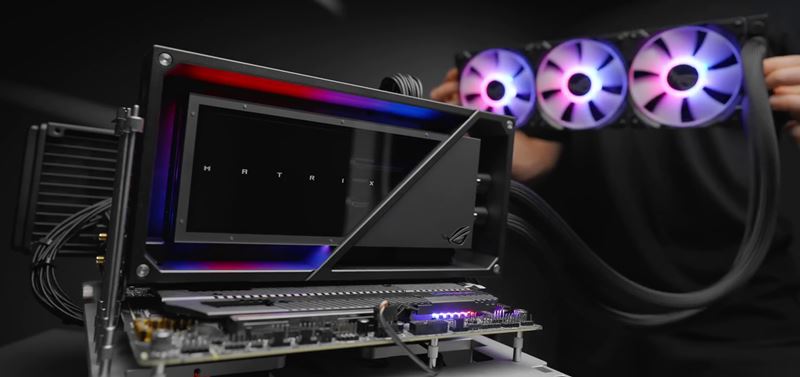
Liquid cooling in a GPU uses liquid to dissipate heat from the graphics processing unit (GPU) in a computer.
A liquid cooling system typically consists of a water block or a heatsink that is attached to the GPU, connected to a pump, reservoir, and radiator to circulate the liquid and cool the GPU. Liquid cooling systems are more efficient than air-based cooling systems and, therefore, are better at maintaining low GPU temperatures.
Case Design and Airflow
The PC case can have a significant impact on the GPU temperature. A well-ventilated and spacious case with proper airflow can help the GPU stay cool by allowing for efficient heat dissipation.
On the other hand, a cramped and poorly ventilated case can trap heat, leading to higher GPU temperatures. Additionally, the placement and orientation of the GPU within the case can also affect its temperature.
For example, a vertical GPU mount may allow for better airflow compared to a horizontal mount. Overall, the PC case plays a crucial role in maintaining optimal GPU temperatures and should be chosen carefully to ensure proper cooling.
Ambient Temperature of Surrounding
The ambient temperature greatly influences the GPU temperature. When the ambient temperature is high, the GPU may struggle to cool itself effectively, leading to an increase in its temperature.
This can cause the GPU to operate at higher temperatures. On the other hand, when the ambient temperature is low, the GPU may have an easier time dissipating heat, leading to lower operating temperatures.
To mitigate the impact of ambient temperature on GPU temperature, it is important to ensure adequate ventilation and airflow within the computer case, as well as using efficient cooling solutions such as fans or liquid cooling systems.
Power Supply
The quality and capacity of the power supply can also influence the temperature of the GPU. A high-quality 80+ rated power supply has better efficiency.
Due to the better efficiency, it can provide a consistent supply of current to the GPU, free of any fluctuations. Hence, there will not be any high-temperature bursts in the GPU as a result of a consistent supply of voltage.
On the other hand, a subpar power supply will not provide a consistent voltage for the GPU. Due to fluctuations, the GPU will generate higher heat, leading to higher temperatures.
How to Optimize GPU Temperature?
You can optimize your GPU temperature and bring it in line with normal operating temperature in the following ways.
Undervolt the GPU
GPU undervolting is the process of reducing the voltage supplied to a GPU in order to lower its power consumption and heat output. This can lead to improved efficiency and lower temperatures.
Undervolting the GPU leads to lower GPU temperature because it lowers the amount of electrical power being supplied to the GPU, which in turn reduces the heat generated by the GPU. When the GPU operates at a lower voltage, it requires less power and produces less heat, resulting in lower temperatures.
Undervolting the GPU is a multi-step process and can be tricky if you don’t follow the directions to teeth. The following is the process for undervolting the GPU.
Step 1: Download the Necessary Software
To undervolt the GPU, you need software programs that will aid you in the process.
- Firstly, open MSI’s official website and download the MSI Afterburner.
- Now download HWMonitor.
- After downloading both these software, install them on your computer.
- Lastly, you will need some sort of game to test the stability of the undervolt. Many people recommend testing undervolt stability using stress testing software, but in my opinion, testing stability using a game is better. A game provides a more dynamic and diverse testing foundation than stress testing software.
Step 2: Setup the Undervolt Procedure
It is important to set up the different software and other applications that will be used throughout the undervolt process before diving into the actual process we downloaded earlier to achieve our desired undervolt results.
- Open up HWMonitor and keep it running in the background.
- Now open up MSI Afterburner and keep it running in the background.
- Fire up your favorite game and start playing it for at least 5-10 minutes. During your playthrough, press ALT + TAB and select the HWMonitor window. If you see 100% GPU utilization, proceed ahead.
- Take note of the clock speed and the voltage of your graphics card.
Step 3: Initiate the Undervolt
Now we can finally initiate the undervolt process. Here’s how it’s done.
- Before you tweak your GPU clock speed using MSI Afterburner, head over to your browser and type in the following.
- Best undervolt setting for *insert your GPU name* Reddit. For instance, if you have an RTX 4060, type “best undervolt setting for RTX 4060 Reddit”.
- Open the most recent Reddit thread and the one with the most upvotes.
- Take note of the clock speed other Redditors have achieved on the stated voltage. This will give you an idea of how low you go with the voltage.
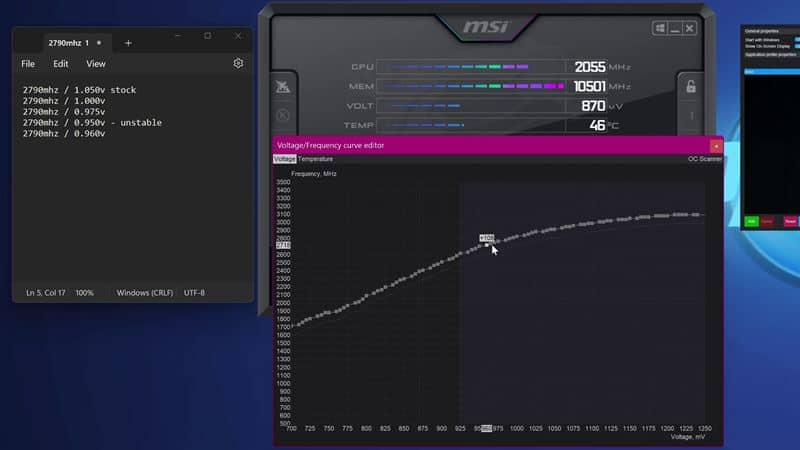
- Now open up MSI Afterburner and click on Curve Editor.
- Don’t be overwhelmed with the graphical presentation of the curve editor. Using it is quite simple. On the Y axis is the clock speed, and on the X axis is the voltage.
- By taking the clock speed and voltage you recorded in step 2 as a reference point, reduce the voltage by 50mv. For example, if you recorded 1850 MHz at 1.1 mv of voltage. Now set the voltage to 1.05mv at the clock speed of 1850.
- Return back to the game and play it for 5 minutes.
- If the computer remains stable, reduce the voltage in 50mv increments until it crashes.
- Return to the last voltage at which your computer was stable. Save the voltage, and click on the tick mark to apply the setting to your GPU.
Step 4: Testing the Stability of the
The last step of the undervolting process is to ensure stability in your computer.
- Start by firing up the most GPU-intensive game you have on your PC. Play the game for at least 30 minutes to an hour. If the system does not crash and you are satisfied with the results, you can save the profile and use it for everyday use.
Adjusting the Fan Curve
Adjusting the fan curve refers to changing the preset speed profiles of a computer’s cooling fans to customize their performance according to specific temperature thresholds. By adjusting the fan curve, users can control the speed at which the fans operate.
Adjusting the fan curve on a GPU can help reduce its temperature by effectively managing the speed of the cooling fan. Users can set the fans to operate at a higher speed when the GPU is under heavy load and creating more heat. This increased airflow helps to dissipate the heat more efficiently, thus reducing the overall temperature of the GPU.
Here’s how you can adjust the fan curve to lower GPU temperature
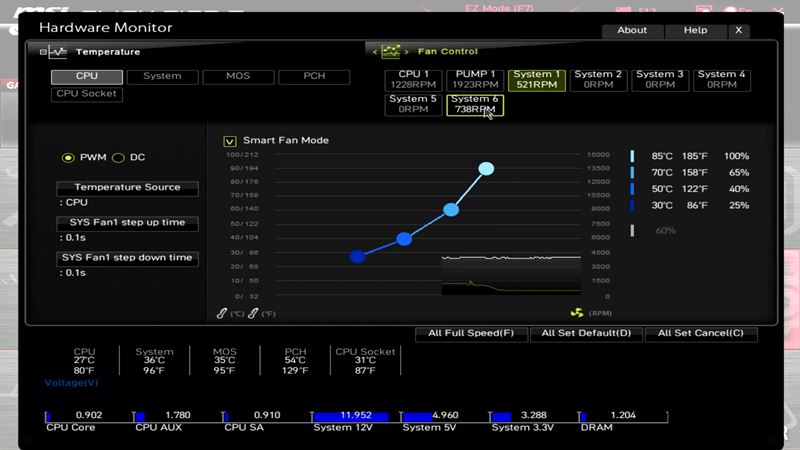
- Restart or turn on your computer. As soon as the computer boots up keep pressing the F2, F10, or Del to enter the BIOS.
- Once in the BIOS menu, look for the “Fan Control” section. The exact location and name of this section may vary depending on the motherboard manufacturer.
- In the “Fan Control” section, look for the “Fan Curve” or “Fan Profile” option. This is where you can adjust the fan speed settings.
- Select the “Fan Curve” or “Fan Profile” option and choose the fan that you want to adjust.
- Now, you can manually adjust the fan speed by setting different temperature points and corresponding fan speeds. To lower GPU temperature, increase the fan speed.
- Once you have adjusted the fan curve to your preference, be sure to save your changes before exiting the BIOS menu.
- Restart your computer to apply the new fan curve settings.
Increase Airflow
Good airflow helps in dissipating heat from the GPU. Make sure your computer case has sufficient air vents for air intake and exhaust. Consider adding more case fans to improve airflow within the case.
Clean the GPU
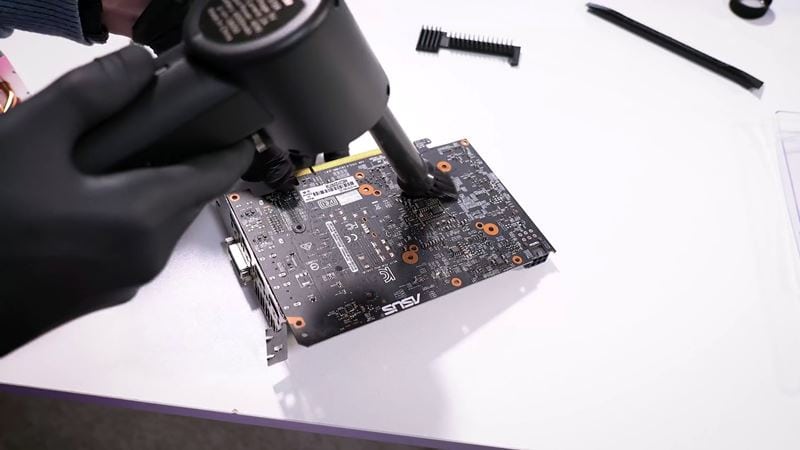
Dust buildup on the GPU’s heatsink and fan can hinder its ability to dissipate heat. Regularly clean the GPU and its surroundings to ensure effective heat dissipation.
Improve Case Cable Management
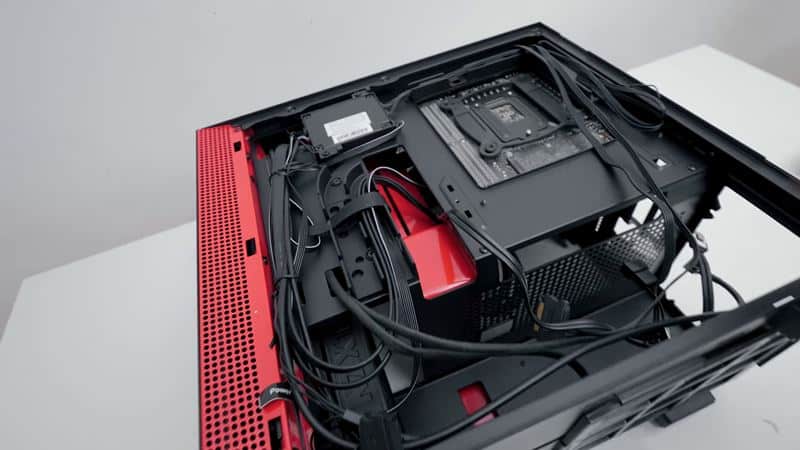
Properly manage the cables inside the computer case to allow for better airflow. This reduces the chances of cables obstructing the airflow and contributing to increased GPU temperature.
After applying these methods, your GPU’s temperature should come down quite a bit and straddle close to the optimal normal operating temperature benchmark of 60-85°C (140-185°F). However, if the GPU’s temperature remains above the normal operating temperature range of 60-85°C (140-185°F), then you might want to get the GPU checked by a reputable PC hardware repair shop. There is a possibility your GPU is faulty, which might be the reason behind higher temperatures.
Related Guides
Check out some of the other related GPU guides.
Check out some of our related PC guides.