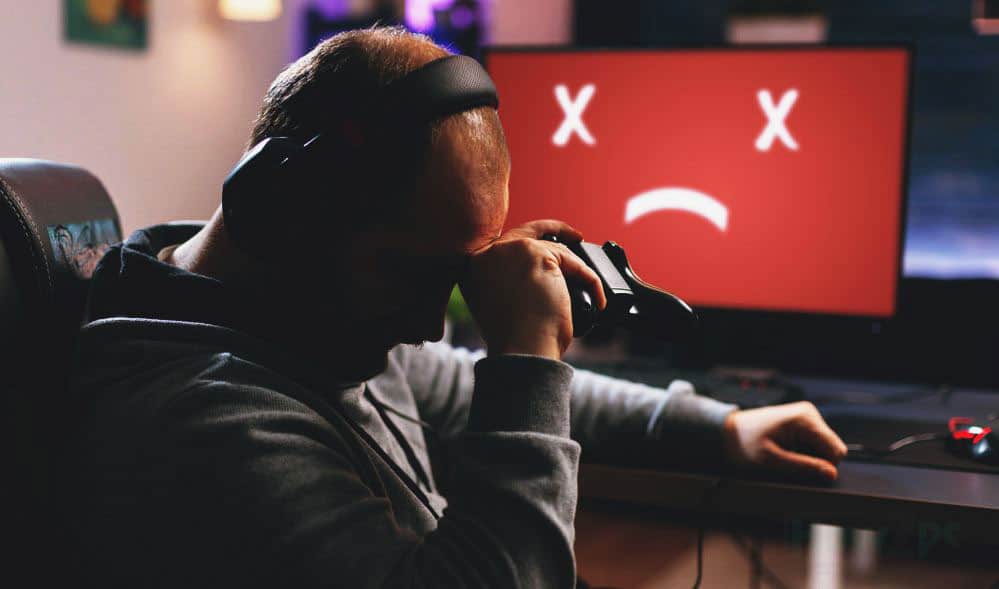
Nothing bugs us more as gamers than PC shutting down in the middle of a competitive match or a story mission leaving all your progress in the dust. This is especially annoying because you never know when the screen is going to turn black.
Troubleshooting a PC that shuts down is also not for the faint of heart and requires a lot of work and effort. Although time-consuming this issue can be rectified and if you are having a similar problem do not worry as we have got you covered with this article.
In this article, we will cover ways in which you can troubleshoot the problem causing the PC to shut down when gaming. After troubleshooting then will get to solving the issue so that it never occurs again. With that said make yourself a cup of coffee because we are going to be here for a while before we successfully diagnose and fix the issue.
Basic Troubleshoots
The issue of PC shutting down when gaming is not always technical and sometimes can be rectified with some basic troubleshoots. Before we get into the technical stuff let’s address some simple fixes. Even if they do not work in our case there is no harm in trying them.
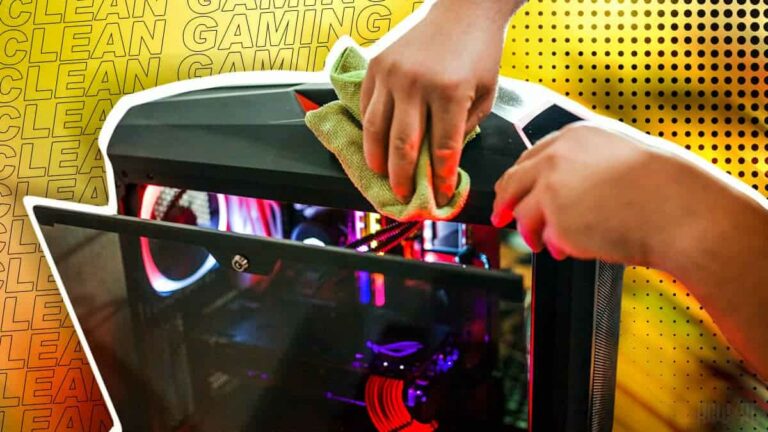
1. Reseat all the Cables and Clean the Dust
Although this may seem like a small deal, but reseating cables is quite useful. During the duration of time, the connectors tend to soften up and dislodge slightly. This can interrupt the proper flow of current leading to a faulty chain hence causing the PC to shut down when the load is applied. The most important cables that you need to replug are the GPU cables, the 12V ATX motherboard cable, and the CPU connector.
Dust is a culprit for anyone electronic equipment and PC is no exception. PCs are more prone to dust as the cooling fans consistently suck dust into the case. If not cleaned regularly large dust globules can accumulate which not only hinder airflow inside the case hence leading to overheating but also lead to wear of the components.
Therefore, if your PC has been neglected for a while there is quite a chance that dust has caused the issue in your PC. For proper cleaning use a microfiber cloth and a brush. The more intricate parts like the motherboard are to be cleaned with a brush while the case can be dusted off with the microfiber cloth.
2. Run a Malware Scan on Your PC
Some malware can also cause the PC to shut down when gaming. Although the chance of this very slim but there is no harm in running a malware scan as it will also cleanse your PC at the same time even if the problem is not caused by malware. The best software we recommend using for this purpose is Malwarebytes.
3. If you have a Surge Protector, Stabilizer, or a UPS check for a Malfunction
This is quite self-explanatory. If you are using any equipment that can alter the power coming to your PC, then we recommend checking that equipment also. This is more or less just for personal satisfaction and to leave any external factor that could be affecting the performance of the PC and causing it to shut down when gaming.
4. Update Graphic Card Drivers and Bios
This is basic stuff, but you would be surprised by the number of times a faulty driver has caused the PC to shut down without any warning. Firstly, you should upgrade the graphics card driver.
To upgrade the driver of your graphics card, open the software of the respective manufacturer, GeForce Experience in the case of Nvidia and Radeon Adrenaline in the case of AMD. In the software application head over to the driver menu and check for upgrade. If a new upgrade is available for your graphics card, then download and install it.
Upon installing the latest driver for your graphic card test the PC by running the most graphics-intensive you have on hand. Play the game for at least 30 minutes and observe for a shutdown.
If updating the graphics card driver does not solve the issue, then get started on upgrading bios. Upgrading the bios can be rather tricky so we are going to list the entire procedure. It is recommended that you follow the procedure strictly because any mishap can brick the motherboard.
- In the windows search bar type info and open the system information app.
- The system information app will take you to a page with a lot of information.
- For our need take note of the baseboard manufacturer, baseboard product, and the bios version information. The baseboard manufacturer and baseboard product information are the make and model of your motherboard respectively.
- Open chrome search for your motherboard.
- Open the manufacturer’s site for the motherboard and head over to the support section to download the latest bios version.
Now begins the fun part. After you have downloaded the bios, we need to prepare to flash it on our motherboard. For this purpose, do the following:
- Make a new folder on the desktop. Head over to where the bios of the motherboard is downloaded and unzip it in the folder that we just made.
- Restart the PC and continuously press the delete or the F2 key to enter the utility software section of your respective motherboard.
- In the setup utility software head over to the advance or the bios tab. Different motherboards have their term for the bios flash utility like Asus calls like Ezflash similarly Msi calls it Mflash. What we are looking here is for the bios flash option
- Once found click on it and select the drive which contains the bios file download.
- Now you will just need to select the download file for the bios and hit enter.
- The process will start and do not cut the power to the PC in any circumstance until the whole process is complete.
After updating the bios perform a similar test as we did after updating graphic card drivers. If your issue is solved, then congratulations you have saved yourself from the technical hassle but if not, unfortunately now you have to go throw the cumbersome process of diagnosing a technical issue with the PC.
How to Diagnose and Solve a Technical problem?
A Gaming PC is a complex machine put together with a variety of different components. Each component has an intricate pattern for the electronic circuits. So, if a PC shuts down when gaming the issue can persist on a granular level as well.
Although time-consuming fixing a technical problem yourself will save you a lot of money than going directly to a PC technician. So, what are we waiting for let’s get to diagnosing the problem shall we.
1. Check if the PC is Overheating
The random shutdowns are often a result of overheating. Modern gaming PCs have the mechanism in place where they shut down when a high unsustainable temperature is detected. This is to prevent any component from permanent heat damage.
The optimal range for temperature varies from component to component. We are only interested in the temperature of the GPU, CPU, and motherboard as these are the main components that cause the shutdown issue. To check the temperature of these components we need to download a couple of different applications from the internet.
Those required software programs are Furmark, Prime95, and HWmonitor. Furmark and Prime95 are benchmark tools that stress test the GPU and the CPU respectively by putting the maximum load on the components. HWmonitor on the other hand is a monitoring tool that we will use to observe the temperature of the components when they are being stressed.
- For GPU:
When everything is set up and in place fire up the HWmonitor and the Furmark application. In the application menu set the resolution to 1080p and then click on the stress test GPU option. Upon doing this a graphical loop will start. Let this run for at least 15 minutes and meanwhile, observe the temperature through the HWmonitor software.
Throughout the test, the GPU temperature should remain below 90 if it exceeds that limit chances are your GPU is causing the PC to shut down due to overheating. To fix the overheating issue of the GPU reapply the thermal compound and the thermal pads. To do this you have to unscrew the backplate of the graphics card.
Once the backplate is removed it will provide you access to the graphics card PCB. I know most people are uncomfortable with opening electronic components so if that is the case for you then visit the nearest technician and inform him about the overheating problem of the graphics card.
If you do not want to go through that hassle, then you can also try to reduce the core clock and memory clock of the graphics. To do this down the MSI Afterburner utility. MSI afterburner will have adjustable sliders for the core clock and memory clock of the GPU. Subtract -100 in the value of the core clock and -50 for the memory clock.
- For CPU:
The process for monitoring the CPU temperature when it is running on full load is the same as well. The only difference is that for CPU we will use the Prime95 application. Open the application and run the stress test for 10 minutes and throughout that time observe the temperature.
The CPU temperature should not exceed 85 while the sweet spot for the CPU temperature is somewhere in the 70-75 range. While we are at it also take a look at the motherboard temperatures specifically the core temperature. Motherboard temperature should remain below 100.
If your CPU is runner hotter than the recommended value, then replace the thermal compound off the CPU. The thermal compound used on the processor and the graphic card dye tends to get dry in a year or two. To prevent this issue from occurring again reapply the thermal compound on both the processor and the graphics card every year.
- For the Motherboard:
As for the motherboard, there is no such thing as a thermal compound for it. Therefore in the case of the motherboard, your best bet is to manually examine the board and see if any cable or other component is touching any capacitor. If that looks fine, then I am afraid you will need the motherboard but before doing that it is wise to get help from any local PC technical.
2. Check the Power Supply
If overheating is not the issue plaguing your PC then the next most probable cause for the shutdown is a bad power supply. Just to brush up on your knowledge a power supply is what keeps the PC running by supplying the current that is needed by each component to function.
If the power supply is unable to fully regulate the voltage inside a PC it can lead to the computer becoming unstable and shutting down when gaming.
To check if you have a faulty power supply run the Furmark and the prime95 application at the same time. Stress testing both the graphics card and the processor is the most demanding task for a computer and requires a lot of voltage.
Let both the Furmark and the Prime95 run for at least 10min. While the stress test is running observe the voltages of the motherboard, graphics card, and processor as well.
What we are looking for is any sign of irregular or fluctuating voltage. While stress testing if the PC shuts down then it is due to a bad power supply. If that is the case for you then congratulations, we have successfully diagnosed the issue that is causing the PC to shut down when gaming.
I recommend changing the power supply for a newer one as soon as possible because a bad power supply can sometimes permanently damage the system.
YOU MAY ALSO LIKE:
- 10 Reasons Why PC Gaming Is Better Than Console
- Is 8GB RAM Enough for Gaming
- 16GB vs 32GB RAM, and How much RAM Do I Need for Gaming
- 16 Tips to Optimize Windows 10 for Gaming
- Best Gaming PC Under $500
- 1500 Dollars Gaming PC
- 2000 Dollars Gaming PC
- Best PC for Gaming
Conclusion
These are some of the solutions you can deploy for a PC that is shutting down randomly when gaming. The problems we mentioned are the most common causes of this issue. We hope that your issue is rectified by applying the above fixes but if your PC is still shutting down when gaming, then you need to get your PC examined by a verified technician.