Are you looking to set up a VPN on Windows 10 but are unsure how to do it? Then you have to come to the right article; I will tell you how you can manually set up a VPN on Windows using the correct method.
VPNs can be useful in many different scenarios; therefore, every PC should have access to a VPN. With a VPN, you can bypass all geographical restrictions and gain access to Data you couldn’t before.
VPNs are also an excellent tool for providing security when you browse. Privacy theft and data leaks are becoming very rampant in the online space today, but you can be protected from them with the top VPN encryption.
This all, however, is a by-product, and we will need to set up a VPN on our PC first. So, without further ado, let’s begin.
How to Manually Setup a VPN Client In Windows 10
I present to you my step-by-step guide on how to set up a VPN in Windows 10. I have simplified each step where necessary, making the guide easy to follow.
- Navigate to the Start button, which is the Windows logo found at the bottom left of the screen, and click on it.
- Select the Settings option from the drop-down menu.
- Click on the Network & Internet option on the new window that appears.
- Now, select the VPN option.
- A new tab will open. On it, navigate to the + sign and click on the Add a VPN connection option.
- As a result, a new window will open. On the new window, click on the drop-down sign, which is below the VPN provider option.
- Select the Windows (built-in) option.
- Next, we have to fill the Connection name field. Here you have to type the name of your VPN provider and the location of the server you are connected to.
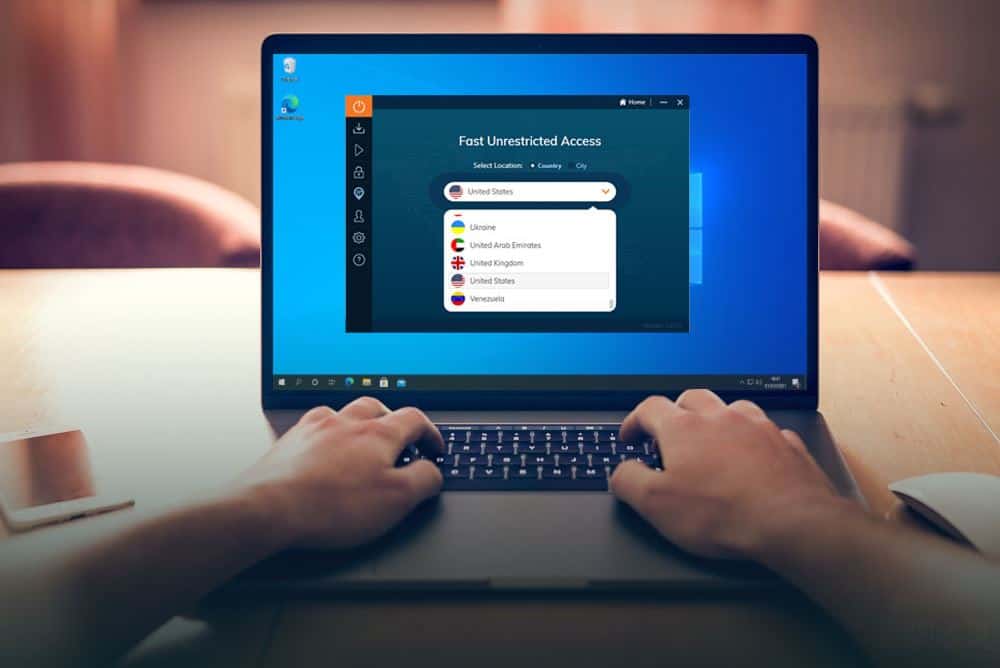
For example, I use VPN Unlimited on my PC and connect to the New York server, so I will write VPN Unlimited US-New York in the connection name. Here VPN Unlimited is the name of my VPN provider, and US-New York is the server location.
Subsequently, you also need to fill the connection name option as I have. If you are unsure about your VPN provider or server location, open your VPN client and connect to the same server as you always do.
Once you have successfully established the connection, hover your mouse to the server location option. If your VPN allows it, the server’s location will be displayed on the map that many VPNs have on their home screen.
- Now fill the server name or address option by using the server’s IP address for your computer.
You can find the server address by opening the VPN application. After opening the VPN application, click on settings and then connection info. In the connection info, copy the server IP address and paste it into the server name or address of the Windows VPN setup.
- Click on the drop-down sign below the VPN type and select the VPN protocol that you want to use.
I recommend using the most secure VPN protocol so that when browsing the Internet, you are always secure and safe.
- Now, click the drop menu below the Type of sign-in info option.
- Choose your desired sign-in method.
The sign-in method will not be the same for all VPNs because most VPN providers tend to give you the sign-in method of their liking. If that is the case, you enter the sign-in info that the VPN provider has given you.
- Once you have filled all the fields, click on the check box that says remember my sign-in info.
If you allow the PC to remember the VPN’s sign-in info, you will no longer be required to enter the sign-in details again and again when using the VPN.
- Click on the Save option.
This was the method for manually adding a VPN to Windows 10. If you have followed along till now, your VPN should be set up without any issue. However, if you are unsuccessful in setting up a VPN, proceed to the troubleshooting section.
How to Connect to the VPN You Just Setup
After setting up the connection, you will need to connect to it. The following is the method for connecting to the VPN.
- Follow steps 1-4 of the previous guide.
- Once you are at the main VPN menu, look for the VPN name you have just set up. The name will be displayed just under the + sign.
- Click on the VPN.
- Choose the connect option.
- Add in the sign-in information, and your VPN should connect.
You can use the same method to disconnect from the VPN as well. The only difference is that when disconnecting from the VPN, you will choose the disconnect option rather than the connect option in step 4. The rest of the procedure remains the same.
What to Do if You Are Unsuccessful in Setting up a VPN on Windows 10
It is not uncommon to see errors appearing when setting a VPN connection. So, the following is the troubleshooting guide that you can use to eliminate any such errors.
Make Sure You Have Not Missed Any Steps
When setting up a VPN connection, all steps are important; hence double-check if you followed along with every step. If you are sure that you haven’t missed any step, proceed to the next troubleshoot.
Make Sure You Have Entered the Correct Connection Name
Many folks get the connection name section wrong because the connection name also requires the server’s location and the VPN provider’s name. Make sure you have entered both correctly.
Make Sure You Have Entered the Correct Server Address?
Double-check your server’s address because this is where most people make mistakes. If you can copy and paste the server address directly from the VPN application to the Windows menu, don’t manually enter it.
Make Sure to Get the Correct Sign-in Details
To set up a VPN on Windows 10, you need the right set of sign-in details. If you want to set up a VPN for professional, educational, office, or any other use, then contact the person responsible to avail the correct sign-in credentials. Sometimes, their networks may also require you to do additional security verification besides the sign-in credentials. Therefore, it is best to contact the person in charge and have a word on the security of the VPN.
Related Guides
Check out some of our networking and security related guides below.
- 10 Mac Security & Privacy Tips
- What Causes Packet Loss and How to Fix It
- Best Free VPN That Works With Netflix
Conclusion
It is time to wrap up the article on how to set up a VPN. To again iterate, setting the VPN is quite straightforward if you take it step-by-step.
I know you might experience errors, so the troubleshooting section will help you iron them out.
I hope that you found the guide on setting up a VPN useful, and do let me know in the comment section if you were able to set up a VPN on Windows using it.
Before I sign off, I would like you to tell me which VPN you use and why you are using it.