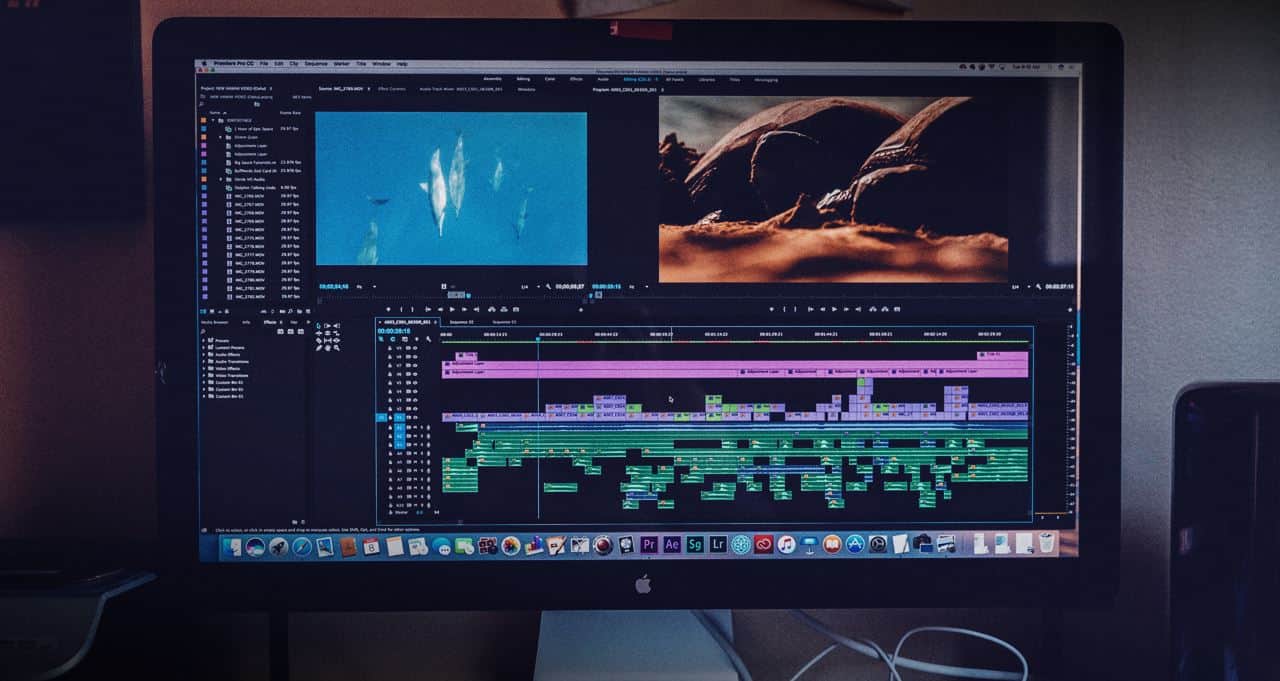
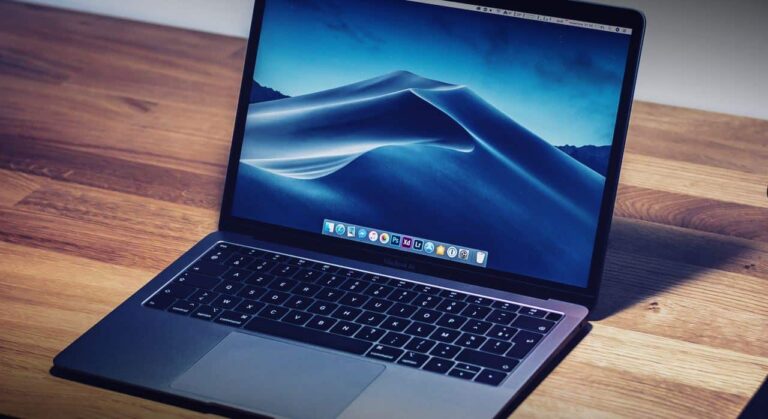
If your Mac is running slow when editing videos and photos, you should optimize your MacOS system for the best performance to make it run like a brand-new model again. In this article, I’ll go through the step-by-step process to achieve the results needed to improve your overall workflow and optimize your Mac for editing.
Why Choose Mac for Video Editing?
Macs are a popular choice among professionals in the creative industry due to their impressive performance, software options, and seamless integration with other Apple devices. However, it’s worth evaluating the pros and cons to determine if a Mac fits your video editing requirements.
Pros
1. Powerful Hardware
Macs have built a reputation for their top-notch hardware, boasting robust processors and specialized graphics cards. These components work together to provide smooth and efficient video editing, effortlessly handling resource-intensive tasks such as rendering and exporting.
2. User-Friendly Interface
MacOS provides a user-friendly and intuitive interface, making it easier for video editors to navigate and work with editing software. The overall user experience on Macs is often more streamlined and efficient than on other PC operating systems.
3. Optimized Software
Many professional video editing software programs are exclusively available for Mac, offering optimized performance and advanced features designed for Mac users. These software packages are optimized to operate on Mac hardware flawlessly, ensuring remarkable efficiency and high-performance output for various video editing tasks.
4. Integration With Other Apple Devices
Macs seamlessly integrate with other Apple devices, such as iPhones and iPads, allowing for smooth collaboration and effortless transfer of media files. This integration simplifies the work for video editors who work with several devices.
5. High-Quality Displays
Macs are known for their high-quality displays, which provide precise color representation and sharp visuals, essential for video editing tasks. The Retina displays on many Mac models offer excellent color accuracy and crystal-clear clarity.
Cons
1. Higher Cost
Mac computers are more expensive than PCs with similar specifications, making them less accessible for video editors on a tight budget.
2. Limited Hardware Customization
Macs have limited hardware customization options, so you may have fewer options when upgrading or replacing components.
3. Limited Software Options
While Macs have a range of professional video editing software options, the overall selection is relatively minor compared to PCs, limiting your flexibility in choosing software that best suits your needs.
4. Compatibility With Specific Third-Party Hardware
Some specialized video editing hardware may have better compatibility with PC systems, so if you rely heavily on specific external devices, you may encounter compatibility issues with Mac.
Why Optimize Mac Before Video Editing?
If you find your Mac running slow, optimizing it before video editing helps you achieve optimal performance, stability, efficiency, and quality throughout the editing process. It ensures that your Mac is ready to handle video editing requirements, allowing you to focus on creating captivating videos without unnecessary technical limitations. Let’s have a closer look at them.
Performance
Video editing is a resource-intensive task that requires substantial processing power, memory, and storage. By optimizing your Mac, you can ensure that it operates at its best performance, allowing for smoother editing, rendering, and exporting processes. This includes optimizing system settings, clearing unnecessary files, and freeing up disk space to maximize available resources.
Stability
A properly optimized Mac is less likely to experience crashes, freezes, or slowdowns during video editing sessions. Optimizing your Mac can minimize the chances of encountering technical issues that disrupt your workflow, potentially leading to data loss or project delays.
Efficiency
Time is valuable in the world of video editing. Optimizing your Mac can enhance efficiency by reducing rendering and exporting times and speeding up editing processes. Streamlining your Mac’s performance will free up more time to focus on the creative aspects of video editing rather than waiting for tasks to be completed.
Quality
Video editing often involves working with high-resolution footage and complex effects. An optimized Mac ensures you can edit and preview videos in their full quality without sacrificing performance. It helps to maintain smooth playback, accurate color representation, and precise editing capabilities.
Workflow
When working on multiple video editing projects or collaborating with others, having an optimized Mac ensures consistency in performance across different tasks. It allows smoother transitions between projects, facilitates seamless collaboration, and reduces potential compatibility issues with software and hardware.
How to Make Your Mac Faster for Video Editing?
To optimize your Mac for video editing, you can follow these steps:
1. Keep Your Mac Updated
Regularly update your macOS and video editing software to ensure you have the latest features, bug fixes, and performance improvements.
- Go to the Apple menu
- Select “System Preferences”
- Click on “Software Update” to check for updates.
2. Upgrade Hardware Components
Consider upgrading your Mac’s hardware components, like RAM and storage, to enhance performance. More RAM allows for smoother multitasking, while a larger and faster storage drive enables faster data access and reduces bottlenecks.
3. Close Unnecessary Applications
Before starting a video editing session, close any unnecessary applications and background processes to free up system resources. This helps to allocate more power and memory to the video editing software, improving its performance.
4. Clean Up Your Mac’s Storage
Regularly declutter your Mac by removing unused files, temporary files, and applications you no longer need. Use the built-in “Storage” tool in the “About This Mac” section to identify and delete large and unnecessary files.
5. Manage Your Scratch Disk
Video editing software often uses a scratch disk for temporary file storage. Ensure your scratch disk has sufficient free space and is set to a fast and reliable drive, such as an internal SSD or external Thunderbolt drive.
6. Adjust Energy-Saving Settings
Customize your Mac’s energy-saving settings to prioritize performance over power efficiency during video editing sessions.
- Go to “System Preferences”
- Select “Energy Saver”
- Adjust settings like putting the computer to sleep and displaying sleep timings.
7. Optimize Graphics Settings
Configure your Mac’s graphics settings for optimal video editing performance.
- In “System Preferences,” go to “Displays”
- Click on “Display”
- Select the “Default for display” option to ensure the best resolution and refresh rate.
8. Use External Displays
Connect an external monitor to your Mac for additional screen space. This allows for a more efficient workspace, with your video editing software on one screen and timeline, preview, or other tools on the other.
9. Enable Hardware Acceleration
Many video editing software applications support hardware acceleration, utilizing the graphics card to speed up rendering and playback. Check your software’s preferences or settings to enable hardware acceleration if available.
10. Regularly Maintain Your Mac
Perform routine maintenance tasks like repairing disk permissions, running disk utility scans, and clearing caches to keep your Mac running smoothly.
Conclusion
Following the optimization techniques mentioned in this article can enhance your Mac’s performance, stability, and efficiency for video editing tasks. Remember to save your work regularly and back up important data to prevent potential data loss.


